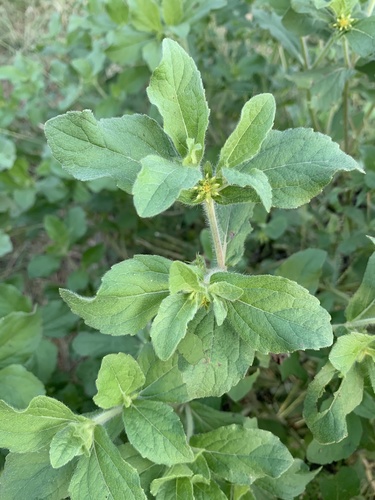
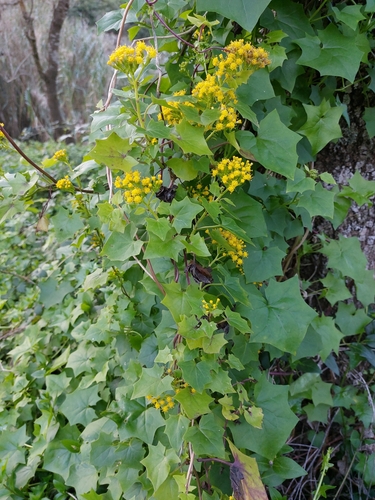
Cape Ivy
delairea odorata
Also known as: ["Cape Creeper","Cape Ivy"]
Overview
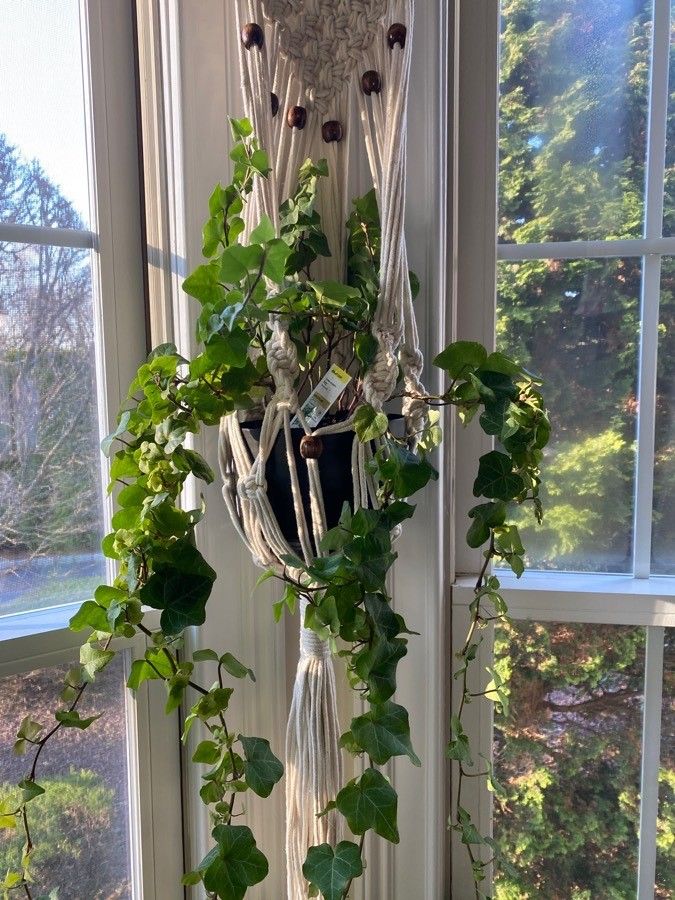
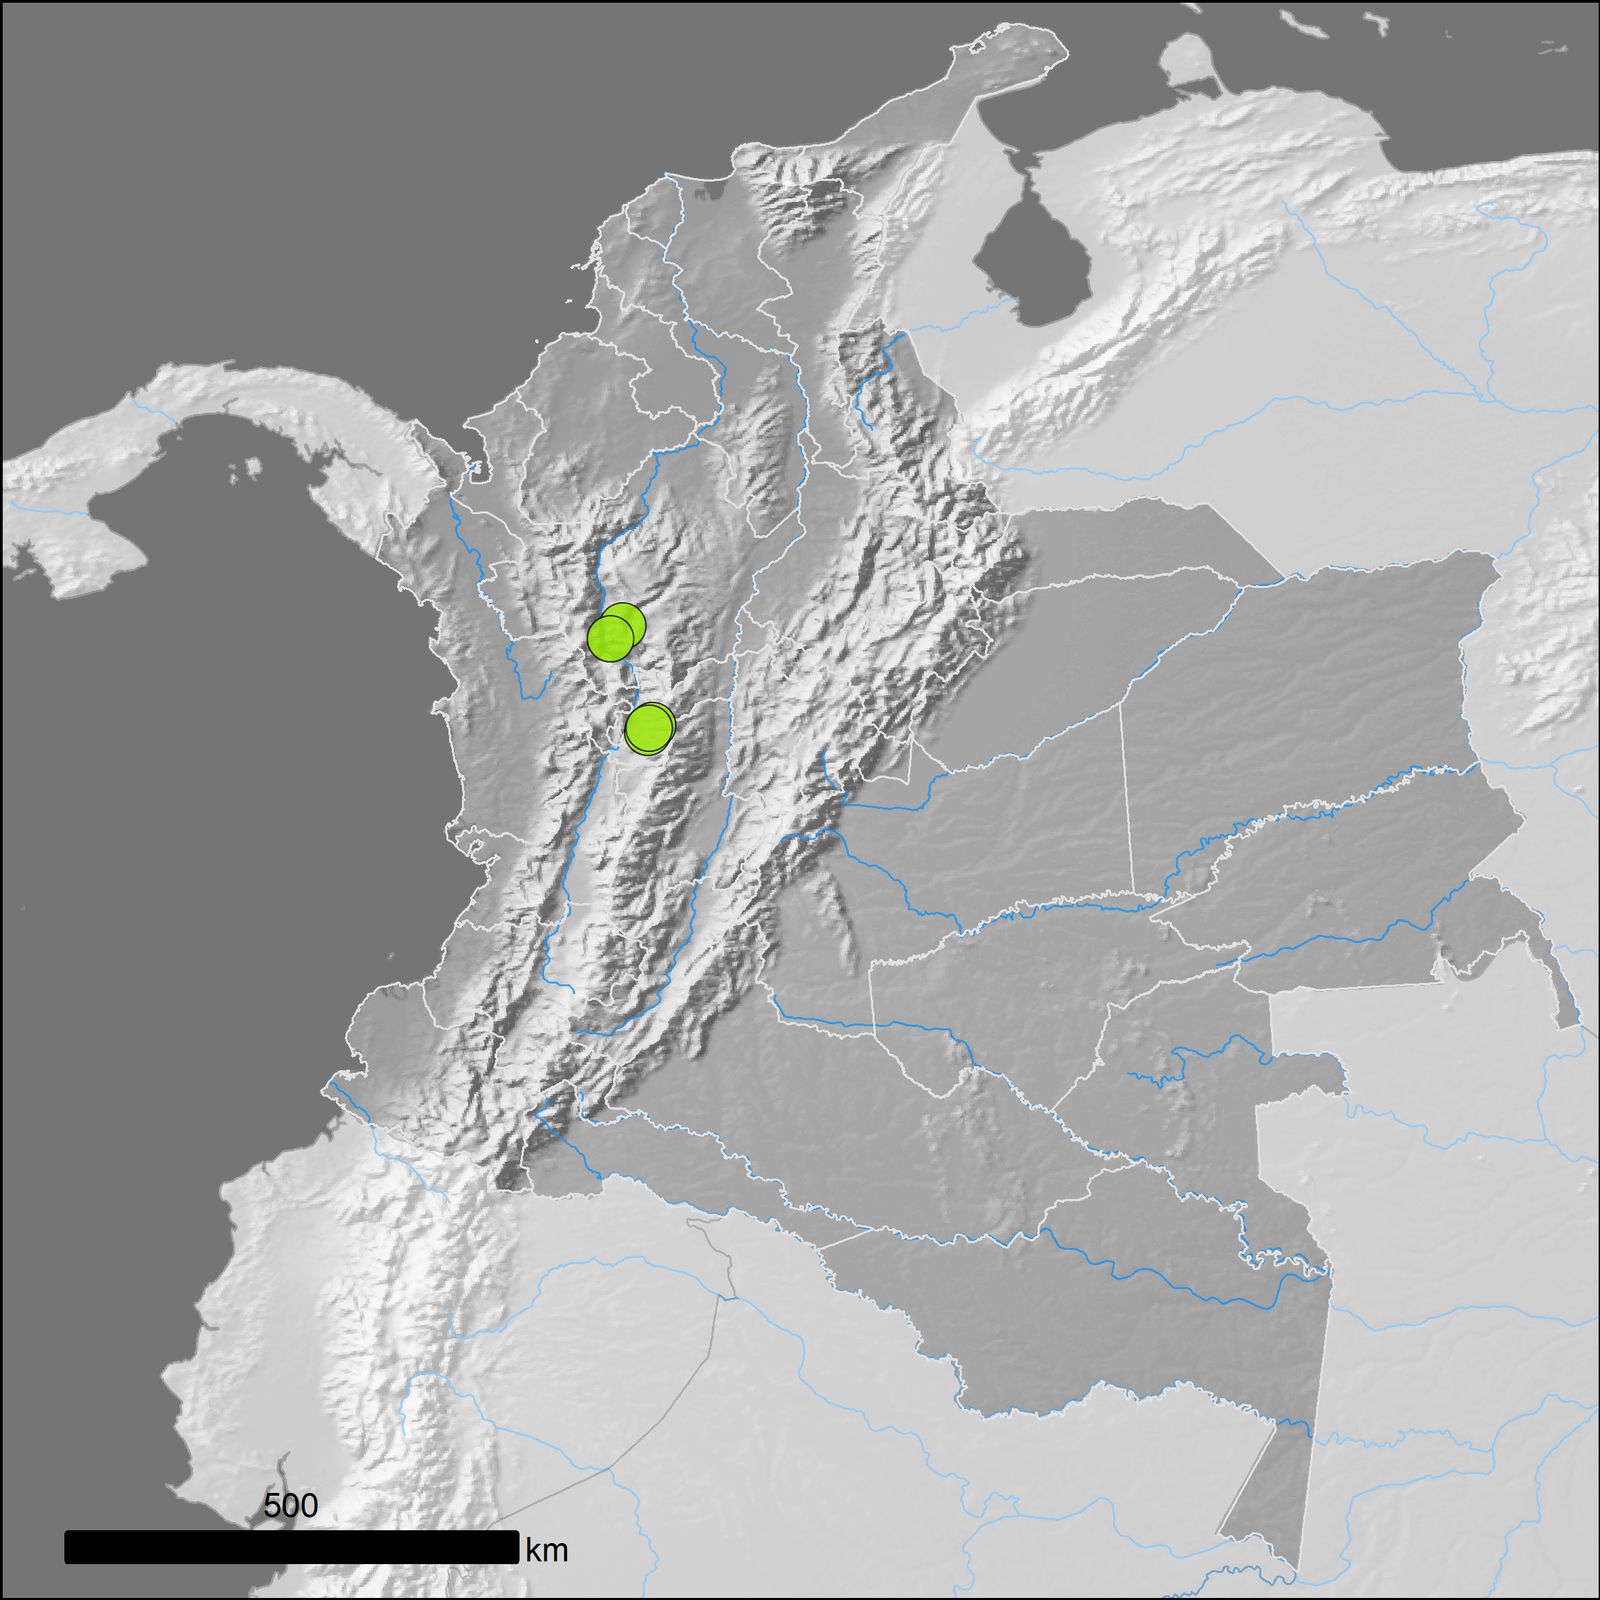
A vigorous, evergreen vine native to South Africa, known for its attractive, ivy-like foliage and invasive tendencies in some regions.
Benefits & Perks
["fast growing","shade tolerant"]
Botanical Classification
| Phylum: | Magnoliophyta |
| Class: | Magnoliopsida |
| Order: | Asterales |
| Family: | Asteraceae |
| Genus: | Delairea |
| Botanical Name: | Delairea odorata |
Plant Characteristics
Basic Information
- Category: Leaf Plants
- Suitable Location: outdoor garden bed or large container in a sheltered spot
- Suitable For:
- Is Weed: No
- Allergenicity: low
Environmental Needs
- Climate: {"temperatureRange":"10–30°C"}
- Hardiness: {"zones":"9–11"}
- Misting: rarely required, only if ambient humidity is very low
- Drainage: Fast-draining to prevent waterlogging.
- Soil Type: Well-draining potting mix with added perlite or sand; can tolerate average garden soil if amended.
Maintenance Level
- Maintenance Level: moderate
- Toughness Level: moderate
- Pruning Frequency: Annually in late winter or early spring; light pruning can be done as needed year-round.
- Pruning Intensity: Moderate; remove up to one-third of growth if necessary to rejuvenate the plant.
Care Details
Ideal Sunlight Coverage:
Bright indirect light for 6–8 hours daily; tolerates some direct morning sun but prefers shade from intense afternoon sun.
Sunlight Tolerance Tips:
Acclimate gradually to direct light; protect from harsh afternoon sun to avoid scorching; adjust placement based on indoor/outdoor conditions.
Care Requirements
Care Difficulty
easyeasy
Sunlight
full sun to partial shade
Rotate plant for even light exposure; use sheer curtains to filter intense light; avoid placing near west-facing windows in summer.
Watering
every 7–10 days during active growth, less frequently in winter
Water thoroughly until it drains from the bottom; allow soil to dry between waterings; avoid overwatering.
Soil
well-draining, loamy soil with some organic matter
pH: Slightly acidic to neutral (pH 6.0–7.0).
Ensure pots have drainage holes; avoid heavy clay soils; top-dress with compost annually.
Temperature
Prefers 60–75°F (15–24°C); can tolerate mild frosts but thrives in moderate temperatures.
Avoid sudden temperature fluctuations; protect from drafts; maintain consistent room temperature for indoor plants.
Fertilizing
every 4–6 weeks during spring and summer
Fertilize only when actively growing; flush soil occasionally to prevent salt buildup; use a balanced formula for overall health.
Propagation
Methods
Stem cuttings in water or soil; air layering for larger stems.
Step-by-Step Propagation Guide
- Take a 4–6 inch cutting with at least one node.
- Remove lower leaves.
- Place in medium.
- Keep moist and warm.
Best Time: Spring or early summer when the plant is actively growing.
Environment
Warm, humid environment with indirect light; maintain consistent moisture.
Medium
Well-draining potting mix or water with occasional changes; perlite or sand can improve drainage.
Hormone
Optional but recommended for faster rooting.
Timeline
Roots develop in 2–4 weeks in water; soil propagation may take slightly longer.
Tools Needed
Pruning shears, rooting hormone (optional), small pots, water or soil medium.
Quick Tips
Use healthy, non-flowering stems; keep cuttings out of direct sun; maintain humidity for faster rooting.
Pruning & Repotting
Pruning Guide
Method
Cut just above a leaf node or bud; thin out crowded areas to improve air circulation.
Pruning Plan
Prune to control size, encourage bushiness, and remove dead or overgrown stems.
Tools
Clean, sharp pruning shears or scissors; disinfect tools before use.
Checklist
Sanitize tools; prune dead/damaged growth; shape plant; remove crossing branches.
Repotting Guide
Best Season
Spring, before the active growing season begins.
Pot Size
One size larger pot (e.g., 2 inches wider in diameter); ensure good drainage.
Method
Remove plant gently; trim roots if crowded; place in a slightly larger pot with fresh soil; water lightly after repotting.
Suggestions
Repot every 2–3 years or when roots fill the pot; beneficial for growth and soil freshness.
Checklist
Choose appropriate pot; prepare new soil; handle roots carefully; water after repotting.
Advanced Care Tips
Watering Mastery
Watering Checklist
Check soil moisture; water deeply; ensure drainage; adjust for season.
How to Apply Water Properly
Water at the base of the plant, ensuring moisture reaches the root zone; water early in the day to minimize evaporation; ensure excess water drains away to prevent waterlogging.
Watering Schedule Tips
Water deeply when the top 1–2 inches of soil are dry; reduce frequency in winter to prevent root rot.
Soil Improvement
Add perlite or coarse sand for drainage; incorporate organic matter like compost for fertility.
Temperature Stress Management
Signs of Temperature Issues
Yellowing leaves, leaf drop, or stunted growth in extreme cold; wilting or leaf scorch in excessive heat.
Cold Stress
Slows growth, may cause leaf drop, and can lead to root damage if temperatures drop below 50°F (10°C).
Solution: Move to a warmer location; provide frost protection in cold climates; avoid placing near drafty windows or doors.
Hot Stress
Leaves may wilt, curl, or develop brown edges; growth may slow due to water stress.
Solution: Increase humidity, provide shade during peak heat, and water more frequently to keep soil moist.
Fertilizing Guide
Fertilizing Checklist
Check growth phase; dilute fertilizer; apply to moist soil; avoid winter feeding.
Fertilizing Method
Use balanced liquid fertilizer diluted to half strength every 4–6 weeks during growing season (spring to early fall); avoid fertilizing in winter.
Common Problems & Solutions
Toxicity Warning
Cats
Slightly ToxicCats may experience mild gastrointestinal upset if they ingest Delairea odorata. The plant is not highly toxic to cats, but ingestion can cause mild symptoms.
⚠️ Symptoms:
🌿 Toxic Parts:
⚡ Toxic If:
if eaten
Dogs
Slightly ToxicIn dogs, ingestion of Delairea odorata can lead to mild gastrointestinal upset. The plant is not considered highly toxic, but consumption may cause discomfort or mild symptoms.
⚠️ Symptoms:
🌿 Toxic Parts:
⚡ Toxic If:
if eaten
Humans
Slightly ToxicDelairea odorata contains compounds that can cause mild gastrointestinal distress when ingested in significant quantities. The plant's effects are generally not severe but can lead to discomfort, particularly in sensitive individuals.
⚠️ Symptoms:
🌿 Toxic Parts:
⚡ Toxic If:
if eaten
Frequently Asked Questions
Q: Is Cape Ivy toxic to pets?
A: Yes, it is mildly toxic to dogs and cats if ingested.
Q: Why are the leaves of my Cape Ivy turning yellow?
A: Yellow leaves can indicate overwatering, poor drainage, or nutrient deficiencies.
Q: Is Cape Ivy invasive?
A: Yes, it is considered invasive in many regions due to its rapid growth and ability to smother other plants.
Quick Reference
| Family: | Asteraceae |
| Care: | easy |
| Light: | full sun to partial shade |
| Water: | every 7–10 days during activ |
Get Expert Care Tips
Download the Plantious app for personalized care reminders and plant identification!
Google Play App Store