Introduction
Home composting turns kitchen scraps and yard waste into nutrient-rich soil. Follow this simple step-by-step to set up your first compost bin at home.
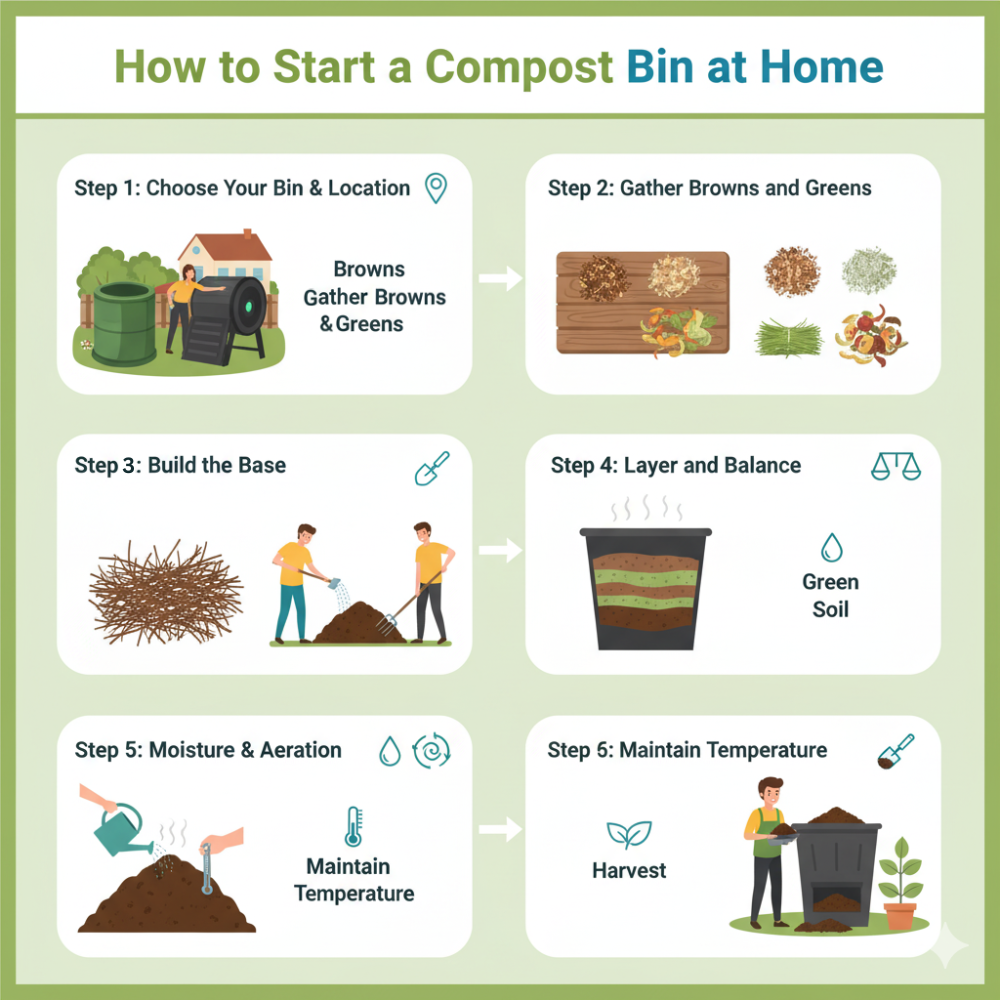
Step 1: Choose Your Bin & Location
- Bin: Enclosed bin or tumbler for low mess; worm bin for indoors; bokashi for fast fermentation.
- Spot: Shady or partial shade, good drainage, easy to access from the kitchen.
Step 2: Gather Browns and Greens
Browns (carbon): dry leaves, shredded paper/cardboard, coco coir.
Greens (nitrogen): fruit/veg scraps, coffee grounds, fresh grass.
Step 3: Build the Base
Start with a 10–15 cm layer of coarse browns (small twigs or shredded cardboard) for airflow and drainage.
Know More: Building the Base for Your Compost PileStep 4: Layer and Balance
- Add greens in thin layers and cover each with 2–3 parts browns.
- Chop large pieces small to speed up composting.
Step 5: Moisture & Aeration
Keep moisture like a wrung-out sponge. If too wet, add dry browns; if too dry, mist with water. Turn the pile weekly or spin a tumbler 3–4 times/week.
Know More: Moisture and Aeration in CompostingStep 6: Maintain Temperature
Active piles warm up as microbes work. A warm center is a good sign. If it cools, add more greens and aerate.
Know More: Maintaining Compost TemperatureStep 7: Harvest
Finished compost is dark, crumbly, and earthy-smelling. Screen if you want finer texture; return large bits to the bin to continue breaking down.
Know More: Harvesting Finished CompostTroubleshooting
- Bad smell: Too wet or too many greens—add browns and turn.
- Dry & slow: Add water and a handful of greens; mix well.
- Fruit flies: Always cover fresh scraps with browns.
Conclusion
With the right balance of browns, greens, moisture, and air, your home compost bin will produce beautiful compost for your plants.