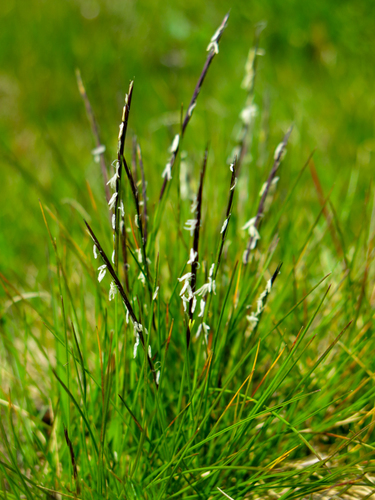
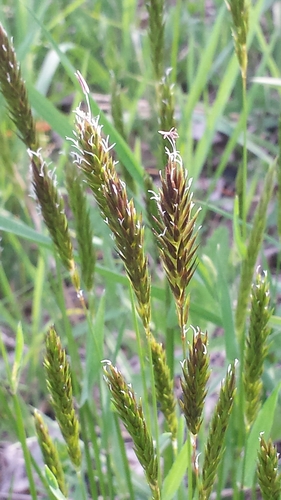
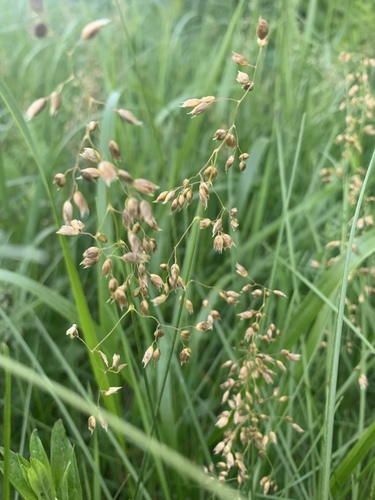
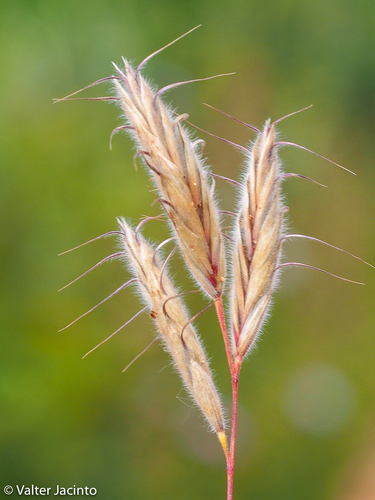
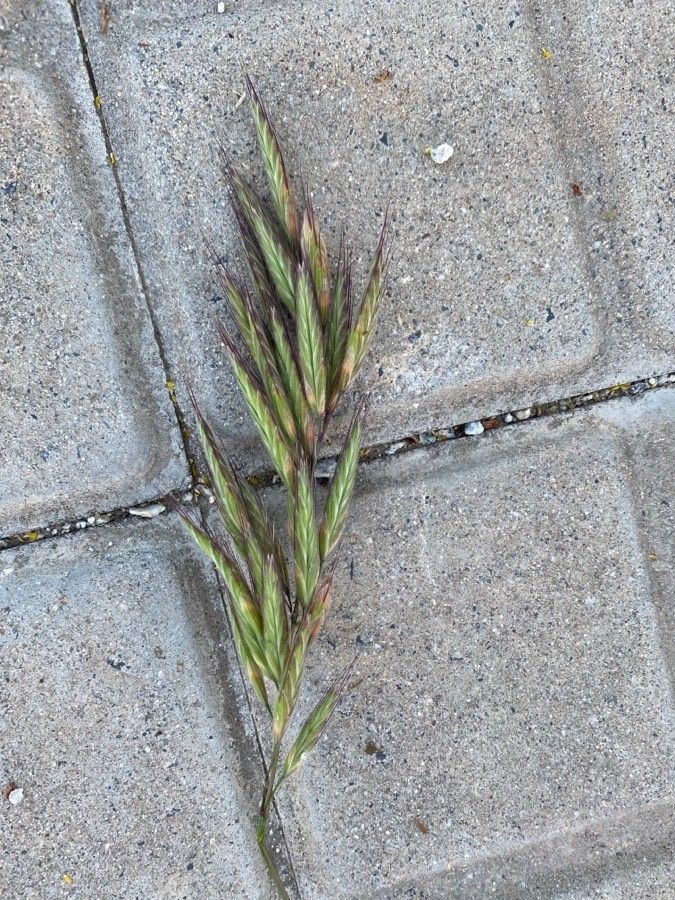
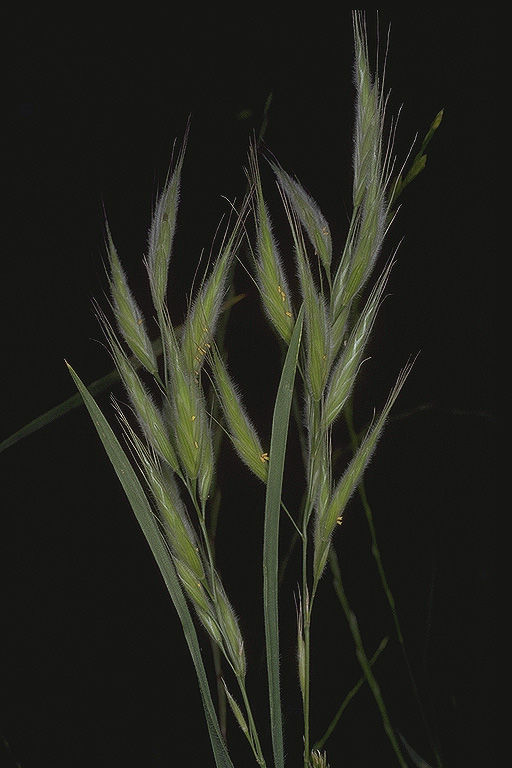
Lance-leaved Brome
bromus lanceolatus
Also known as: ["Lance-leaved Brome Grass"]
Overview
A grass species in the Bromus genus, characterized by lance-shaped leaves and an annual growth habit.
Benefits & Perks
["fast growing","drought tolerant"]
Botanical Classification
| Phylum: | Magnoliophyta |
| Class: | Liliopsida |
| Order: | Poales |
| Family: | Poaceae |
| Genus: | Bromus |
| Botanical Name: | Bromus lanceolatus |
Plant Characteristics
Basic Information
- Category: Herbs & Weeds
- Suitable Location: outdoor garden bed in a sunny to partially shaded area
- Suitable For:
- Is Weed: No
- Allergenicity: low
Environmental Needs
- Climate: {"temperatureRange":"5–35°C"}
- Hardiness: {"zones":"6–9"}
- Misting: rarely required, only if ambient humidity is very low
- Drainage: Fast-draining to prevent waterlogging.
- Soil Type: Well-draining, loamy soil with some organic matter; can tolerate sandy or clay soils if amended properly.
Maintenance Level
- Maintenance Level: very low
- Toughness Level: very high
- Pruning Frequency: As needed, typically once or twice a year to remove old growth.
- Pruning Intensity: Light pruning; remove only dead, diseased, or overcrowded stems.
Care Details
Ideal Sunlight Coverage:
Full sun to partial shade; 6–8 hours of direct sunlight per day, with some afternoon shade in hot climates.
Sunlight Tolerance Tips:
Acclimate plants gradually to intense sunlight to avoid scorching; provide shade during peak afternoon heat in hot regions; adjust light exposure based on seasonal changes.
Care Requirements
Care Difficulty
very easyEasy
Sunlight
full sun to partial shade
Monitor for leaf scorch; rotate plants for even light exposure; use shade cloth if needed.
Watering
every 7–10 days during active growth, less frequently in dormant periods
Water thoroughly until it drains from the bottom; allow soil to dry between waterings; avoid overwatering.
Soil
well-drained, loamy soil with moderate organic content
pH: Slightly acidic to neutral (pH 6.0–7.0).
Ensure good drainage to prevent root rot; amend soil with organic matter for better fertility; test pH periodically.
Temperature
Prefers cool to moderate temperatures, ideally 60–75°F (15–24°C); tolerates cooler temperatures but may struggle in extreme heat.
Avoid sudden temperature fluctuations; protect from frost; maintain consistent moderate temperatures for optimal growth.
Fertilizing
every 4–6 weeks during spring and summer
Avoid over-fertilizing to prevent nutrient burn; apply fertilizer to moist soil to prevent root damage; flush soil occasionally to prevent salt buildup.
Propagation
Methods
Seed propagation is the most common method; can also be propagated by division in early spring.
Step-by-Step Propagation Guide
- Sow seeds shallowly in a seed tray.
- Keep moist and warm.
- Transplant seedlings once they have a few true leaves.
- Divide mature plants by separating root clumps and replanting.
Best Time: Early spring or late summer when temperatures are moderate and the plant is actively growing.
Environment
Warm, humid environment with indirect light for seeds; similar conditions for division with protection from direct sun.
Medium
Well-draining seed starting mix or a mix of peat and perlite for division.
Hormone
Not necessary for seed propagation; rooting hormone can be used for division if desired.
Timeline
Seeds typically germinate in 2–4 weeks under optimal conditions; division may take a few weeks to establish.
Tools Needed
Seed trays, potting mix, watering can, pruners (for division).
Quick Tips
Use fresh seeds for best germination; keep soil consistently moist but not waterlogged; protect young plants from strong sunlight.
Pruning & Repotting
Pruning Guide
Method
Cut stems back to the base or just above a healthy leaf node; avoid cutting into the main stem unless necessary.
Pruning Plan
Minimal pruning is required; focus on removing dead or damaged foliage to maintain plant health and appearance.
Tools
Pruning shears, gloves.
Checklist
Disinfect tools; prune during dormancy or after flowering; remove only necessary parts; clean up debris.
Repotting Guide
Best Season
Early spring before the growing season begins.
Pot Size
Choose a pot one size larger than the current one, with a diameter about 2–3 inches wider.
Method
Gently remove the plant from its pot; trim any circling roots; place in a new pot with fresh, well-draining soil; water thoroughly after repotting.
Suggestions
Repot only when the plant becomes root-bound or outgrows its container; typically every 2–3 years.
Checklist
Select appropriate pot size; prepare new soil mix; trim roots if necessary; water after repotting; place in appropriate light.
Advanced Care Tips
Watering Mastery
Watering Checklist
Check soil moisture before watering; water deeply; ensure proper drainage; adjust frequency with seasons.
How to Apply Water Properly
Water directly at the base of the plant, ensuring even moisture distribution to the root zone; water early in the morning to minimize evaporation and fungal growth; ensure excess water drains away to prevent waterlogging.
Watering Schedule Tips
Water deeply once the top inch of soil feels dry; reduce frequency in winter to prevent root rot.
Soil Improvement
Add compost or well-rotted manure to improve fertility and structure; incorporate perlite or sand to enhance drainage in heavy soils.
Temperature Stress Management
Signs of Temperature Issues
Wilting, yellowing leaves, stunted growth, or browning leaf tips in excessive heat; leaf drop or cessation of growth in cold stress.
Cold Stress
Low temperatures can slow growth, cause leaf discoloration, or lead to frost damage if temperatures drop below freezing.
Solution: Protect plants from frost with mulch or row covers; move potted plants indoors during cold spells; avoid watering when temperatures are below 40°F (4°C).
Hot Stress
Excessive heat can cause wilting, leaf scorch, and reduced vigor, especially if combined with drought stress.
Solution: Provide shade during peak heat; increase watering frequency; use mulch to retain soil moisture; ensure good air circulation.
Fertilizing Guide
Fertilizing Checklist
Use balanced fertilizer; apply during growing season; dilute as per instructions; avoid winter fertilization.
Fertilizing Method
Use a balanced, slow-release fertilizer in early spring; apply a diluted liquid fertilizer every 4–6 weeks during the growing season; reduce or stop fertilizing in late fall and winter.
Common Problems & Solutions
Toxicity Warning
Cats
Non-toxicBromus lanceolatus is not known to be toxic to cats. It does not pose any significant health risks upon ingestion or contact.
⚡ Toxic If:
None
Dogs
Non-toxicBromus lanceolatus is not known to be toxic to dogs. It poses no significant health risks upon ingestion or contact.
⚡ Toxic If:
None
Humans
Non-toxicBromus lanceolatus is not known to exhibit toxic properties to humans. It is generally considered safe for handling and consumption.
⚡ Toxic If:
None
Frequently Asked Questions
Q: Is Bromus lanceolatus a weed?
A: Yes, it is considered a weed due to its invasive growth habit.
Q: Is it toxic to pets?
A: There is no reliable information on its toxicity to pets.
Q: How easy is it to grow?
A: It is very easy to grow, requiring minimal maintenance.
Quick Reference


| Family: | Poaceae |
| Care: | very easy |
| Light: | full sun to partial shade |
| Water: | every 7–10 days during activ |
Get Expert Care Tips
Download the Plantious app for personalized care reminders and plant identification!
Google Play App Store