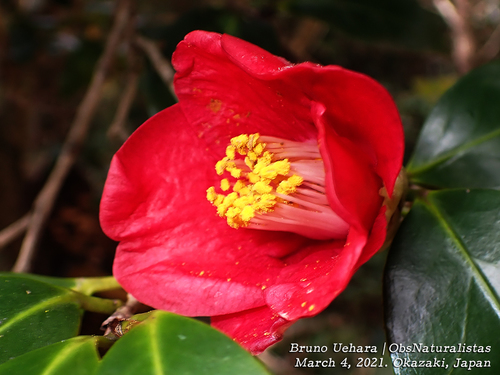
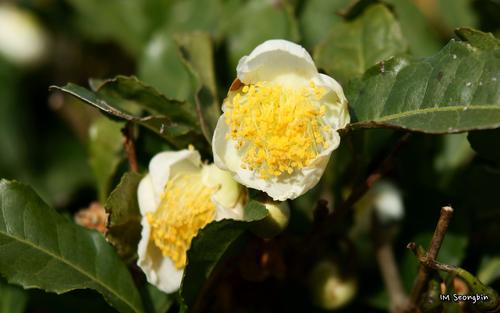
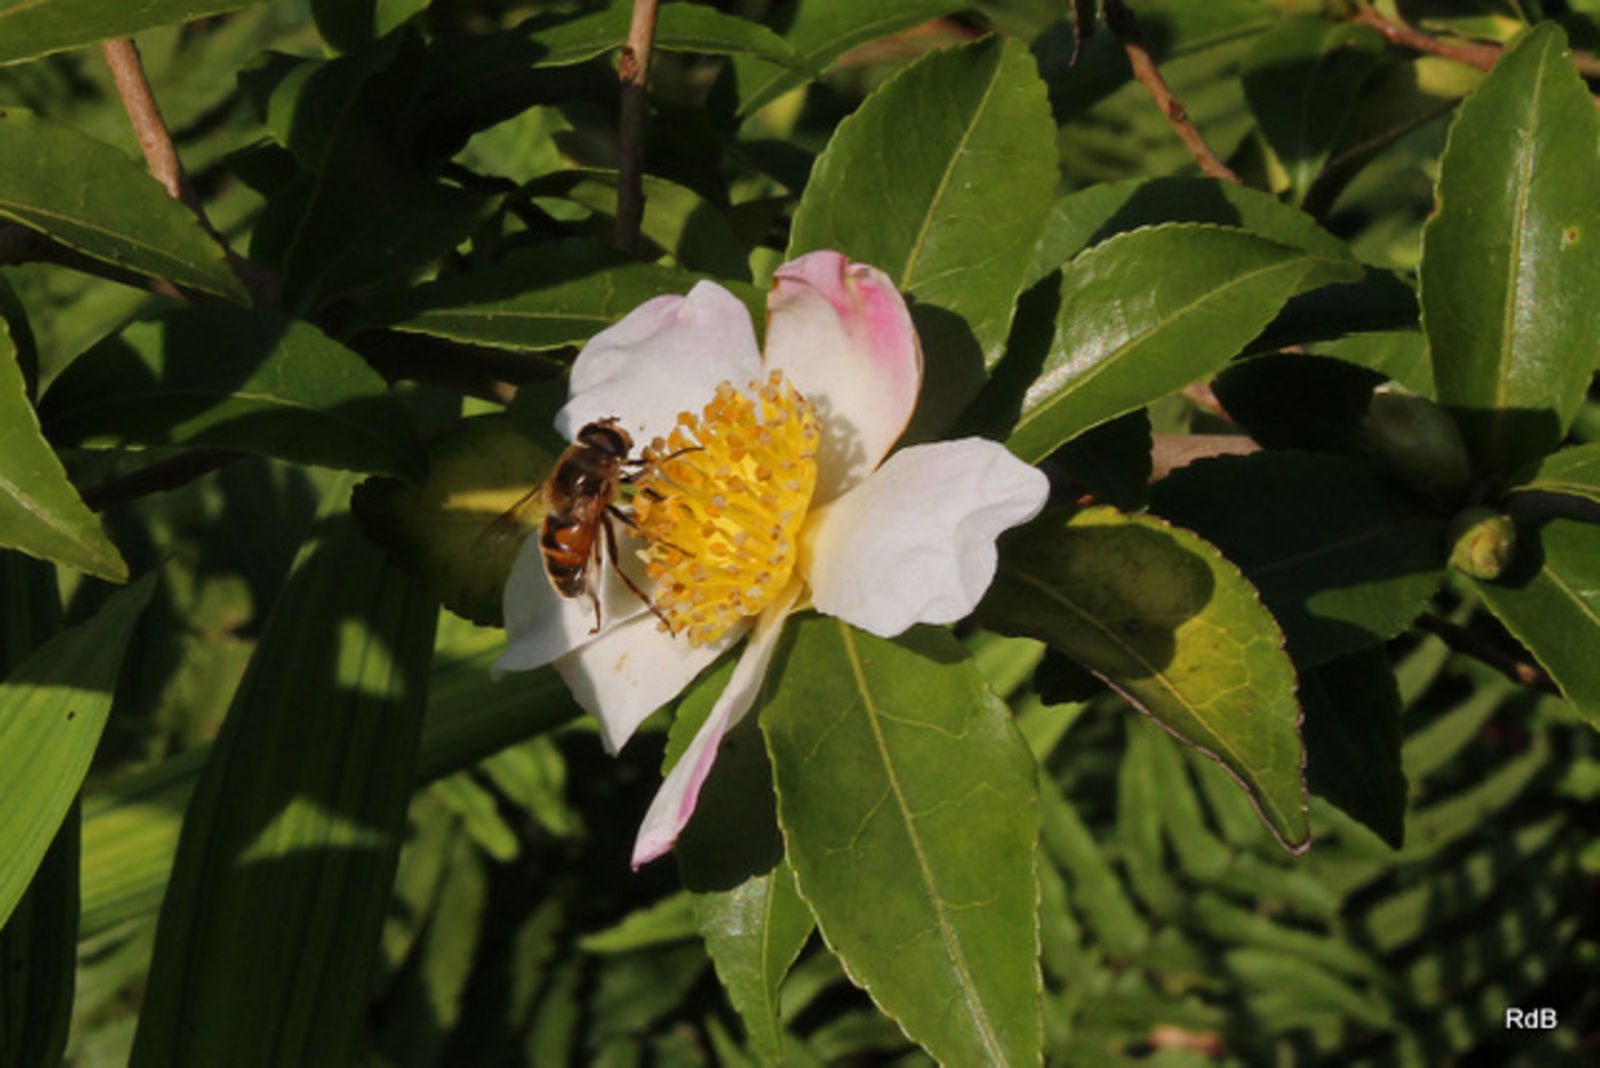
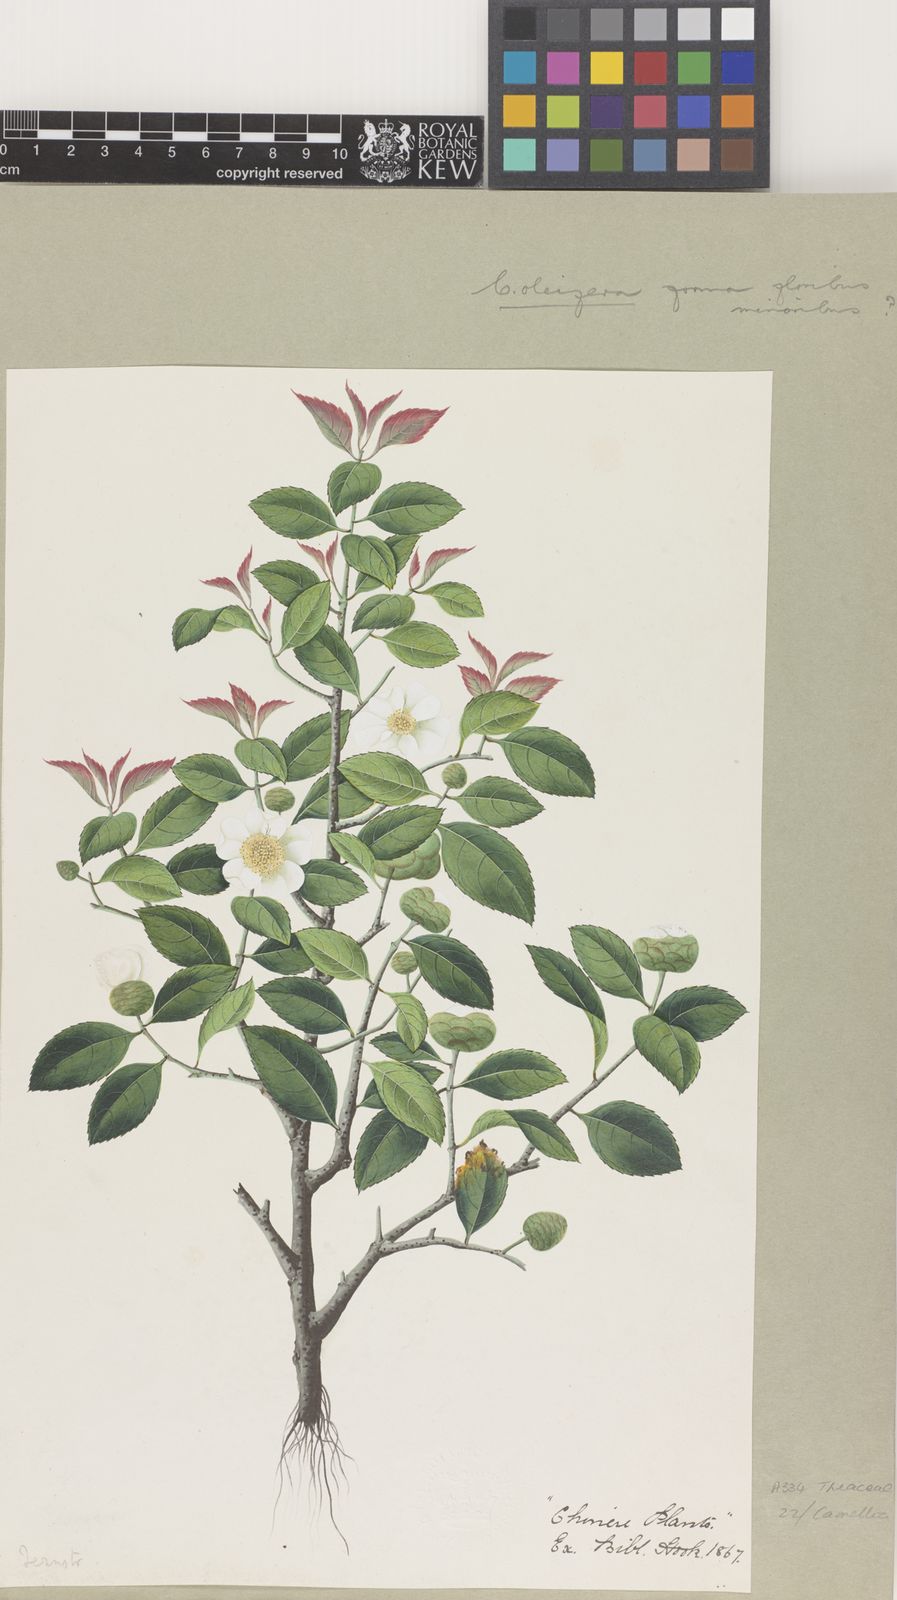
Oil Camellia
camellia oleifera
Also known as: ["Tea Oil Camellia","Oilseed Camellia"]
Overview
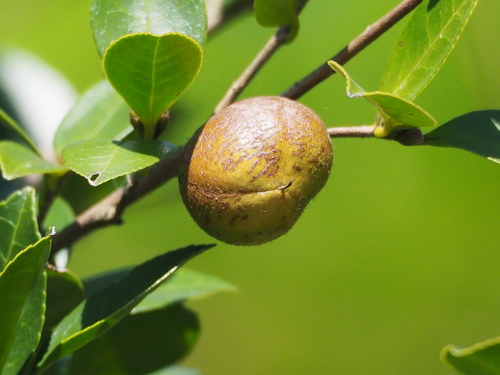
A species of flowering plant in the family Theaceae, native to China, known for its seeds which are pressed to produce tea oil.
Benefits & Perks
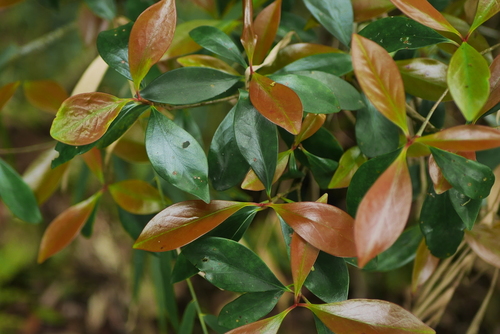
["edible fruits","medicinal use","aesthetic foliage"]
Botanical Classification
| Phylum: | Magnoliophyta |
| Class: | Magnoliopsida |
| Order: | Theales |
| Family: | Theaceae |
| Genus: | Camellia |
| Botanical Name: | Camellia oleifera |
Plant Characteristics
Basic Information
- Category: Trees
- Suitable Location: protected garden bed or container in partial shade
- Suitable For:
- Is Weed: No
- Allergenicity: low
Environmental Needs
- Climate: {"temperatureRange":"–15–30°C"}
- Hardiness: {"zones":"6–9"}
- Misting: rarely required, only if ambient humidity is very low
- Drainage: Well-draining to fast-draining; avoid heavy clay soils.
- Soil Type: Acidic, well-draining soil mix with organic matter (e.g., peat moss, compost); can use ericaceous (acid-loving) potting mix.
Maintenance Level
- Maintenance Level: moderate
- Toughness Level: moderate
- Pruning Frequency: Annually, after flowering; light pruning can be done in late winter if needed.
- Pruning Intensity: Moderate—remove up to one-third of old growth if the plant is overgrown.
Care Details
Ideal Sunlight Coverage:
Partial shade to full sun (4–6 hours of morning sun, filtered afternoon light); adjust based on climate—more shade in hot regions.
Sunlight Tolerance Tips:
Acclimate plants gradually to full sun; protect from intense afternoon sun to prevent leaf scorch; place in dappled light indoors if grown as a houseplant.
Care Requirements
Care Difficulty
moderatemoderate
Sunlight
partial shade to full shade
Morning sun is ideal; avoid harsh afternoon rays; adjust shade cloth if grown in very hot climates.
Watering
every 7–10 days during active growth, reduce in winter
Maintain consistent soil moisture without waterlogging; water more during flowering and fruiting periods; adjust based on weather and soil conditions.
Soil
acidic, well-drained, loamy soil
pH: Acidic (pH 5.0–6.5).
Test soil pH annually; amend with sulfur if too alkaline; ensure good aeration to prevent root rot.
Temperature
Prefers mild temperatures (50–75°F or 10–24°C); tolerates winter lows to 0°F (-18°C) but thrives in moderate climates.
Protect from frost; provide shade in summer; maintain consistent temperatures for optimal growth.
Fertilizing
every 4–6 weeks during spring and summer
Fertilize lightly and infrequently; avoid feeding in winter; use acid-loving plant food if soil pH is alkaline.
Propagation
Methods
Stem cuttings (softwood or semi-hardwood); air layering is also effective for mature plants.
Step-by-Step Propagation Guide
- Select a healthy stem.
- Cut below a node.
- Remove lower leaves.
- Dip in rooting hormone.
- Plant in medium.
- Maintain humidity.
Best Time: Late spring to early summer when new growth is developing.
Environment
High humidity (70–90%), warm temperatures (65–75°F or 18–24°C), and indirect light.
Medium
Peat-based mix with perlite or sand for good drainage; can also use pure sphagnum moss for air layering.
Hormone
Rooting hormone is recommended to improve success rates.
Timeline
Cuttings may root in 6–8 weeks; air layering can take 2–3 months to establish roots.
Tools Needed
Pruning shears, rooting hormone, plastic bags or propagator, misting spray bottle.
Quick Tips
Keep cuttings moist but not waterlogged; provide bottom heat for faster rooting; monitor for signs of rot.
Pruning & Repotting
Pruning Guide
Method
Thinning cuts to remove entire branches; heading cuts to shorten branches and encourage side shoots.
Pruning Plan
Shape the plant to encourage bushier growth; remove dead or diseased wood; thin out crowded branches to improve air circulation.
Tools
Pruning shears, loppers, sterilized saw (for larger branches), gloves.
Checklist
Sterilize tools; prune after flowering; remove dead or crossing branches; shape evenly.
Repotting Guide
Best Season
Early spring before new growth begins.
Pot Size
Move to a pot 1–2 inches larger in diameter; avoid oversized pots to prevent waterlogging.
Method
Remove plant gently; trim root bound areas; replace old soil with fresh mix; ensure good drainage.
Suggestions
Repot every 2–3 years or when roots fill the container; beneficial for younger plants to encourage growth.
Checklist
Use fresh potting mix; check for pests; prune roots if necessary; water lightly after repotting.
Advanced Care Tips
Watering Mastery
Watering Checklist
Check soil moisture before watering; water deeply at the base; ensure good drainage; adjust frequency seasonally.
How to Apply Water Properly
Water at the base of the plant, ensuring moisture reaches the root zone; water early in the morning to minimize evaporation; allow excess water to drain away to prevent root rot.
Watering Schedule Tips
Water deeply once a week during spring and fall; reduce frequency to every 10–14 days in winter; increase to twice weekly in summer, especially if rainfall is scarce.
Soil Improvement
Add peat moss or compost to increase acidity and organic matter; incorporate perlite or sand for drainage.
Temperature Stress Management
Signs of Temperature Issues
Chlorosis or leaf drop in extreme heat; bud drop or delayed flowering in cold stress; stunted growth in temperature fluctuations.
Cold Stress
Low temperatures slow metabolic processes; can cause leaf discoloration and bud abortion; prolonged cold may lead to dieback.
Solution: Mulch heavily around the base; protect with frost cloth in freezing conditions; ensure good air circulation to prevent fungal issues.
Hot Stress
Excessive heat can cause wilting, leaf scorch, and reduced flowering; may lead to premature leaf drop.
Solution: Provide shade during peak heat; increase watering frequency; use reflective mulch to reduce soil temperature.
Fertilizing Guide
Fertilizing Checklist
Use correct fertilizer type; apply at the right time; avoid over-fertilization; water after application.
Fertilizing Method
Use a balanced, slow-release fertilizer in early spring; apply a second dose after flowering; avoid high-nitrogen formulas to prevent leafy growth over blooms.
Common Problems & Solutions
Toxicity Warning
Cats
Non-toxicCamellia oleifera is generally considered non-toxic to cats. The plant does not contain compounds that are known to be harmful to felines.
⚠️ Symptoms:
🌿 Toxic Parts:
⚡ Toxic If:
if eaten
Dogs
Non-toxicCamellia oleifera is generally considered non-toxic to dogs. There are no significant toxic compounds present in the plant that would cause severe health issues upon ingestion.
⚠️ Symptoms:
🌿 Toxic Parts:
⚡ Toxic If:
if eaten
Humans
Non-toxicCamellia oleifera seeds contain small amounts of saponins, which can be mildly irritating if consumed in large quantities. However, the plant is generally considered non-toxic to humans.
⚠️ Symptoms:
🌿 Toxic Parts:
⚡ Toxic If:
if eaten in large quantities
Frequently Asked Questions
Q: Is Camellia oleifera toxic to pets?
A: No, Camellia oleifera is non-toxic to dogs and cats.
Q: What is the primary use of Camellia oleifera?
A: Its seeds are pressed to produce tea oil, which is used in cooking and cosmetics.
Q: How difficult is it to care for Camellia oleifera?
A: It has moderate care difficulty, requiring consistent moisture and partial shade.
Quick Reference


| Family: | Theaceae |
| Care: | moderate |
| Light: | partial shade to full shade |
| Water: | every 7–10 days during activ |
Get Expert Care Tips
Download the Plantious app for personalized care reminders and plant identification!
Google Play App Store