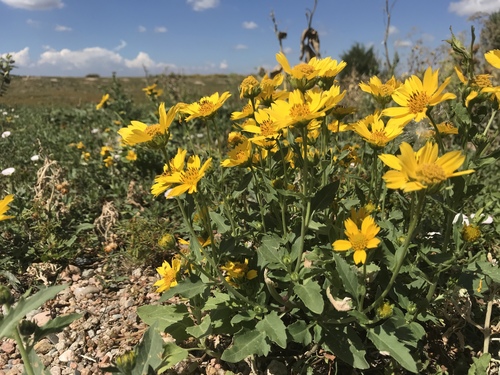
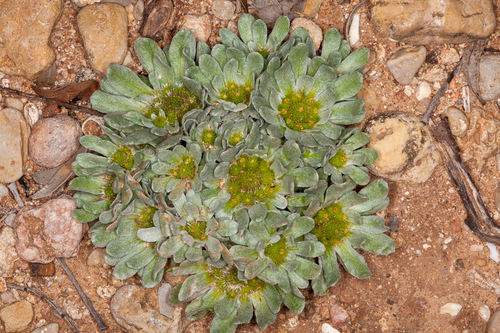
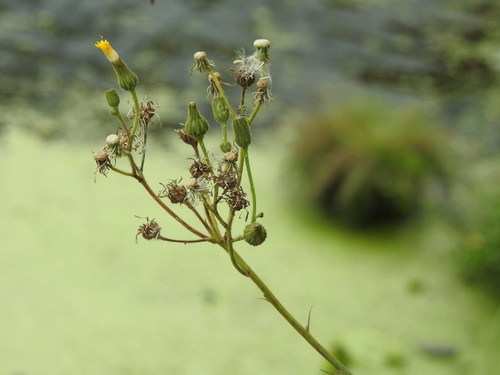
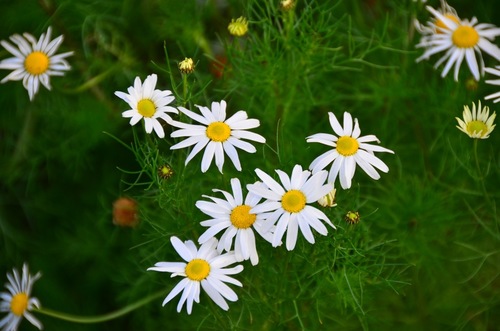
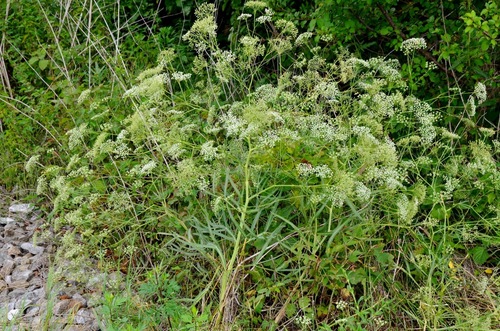
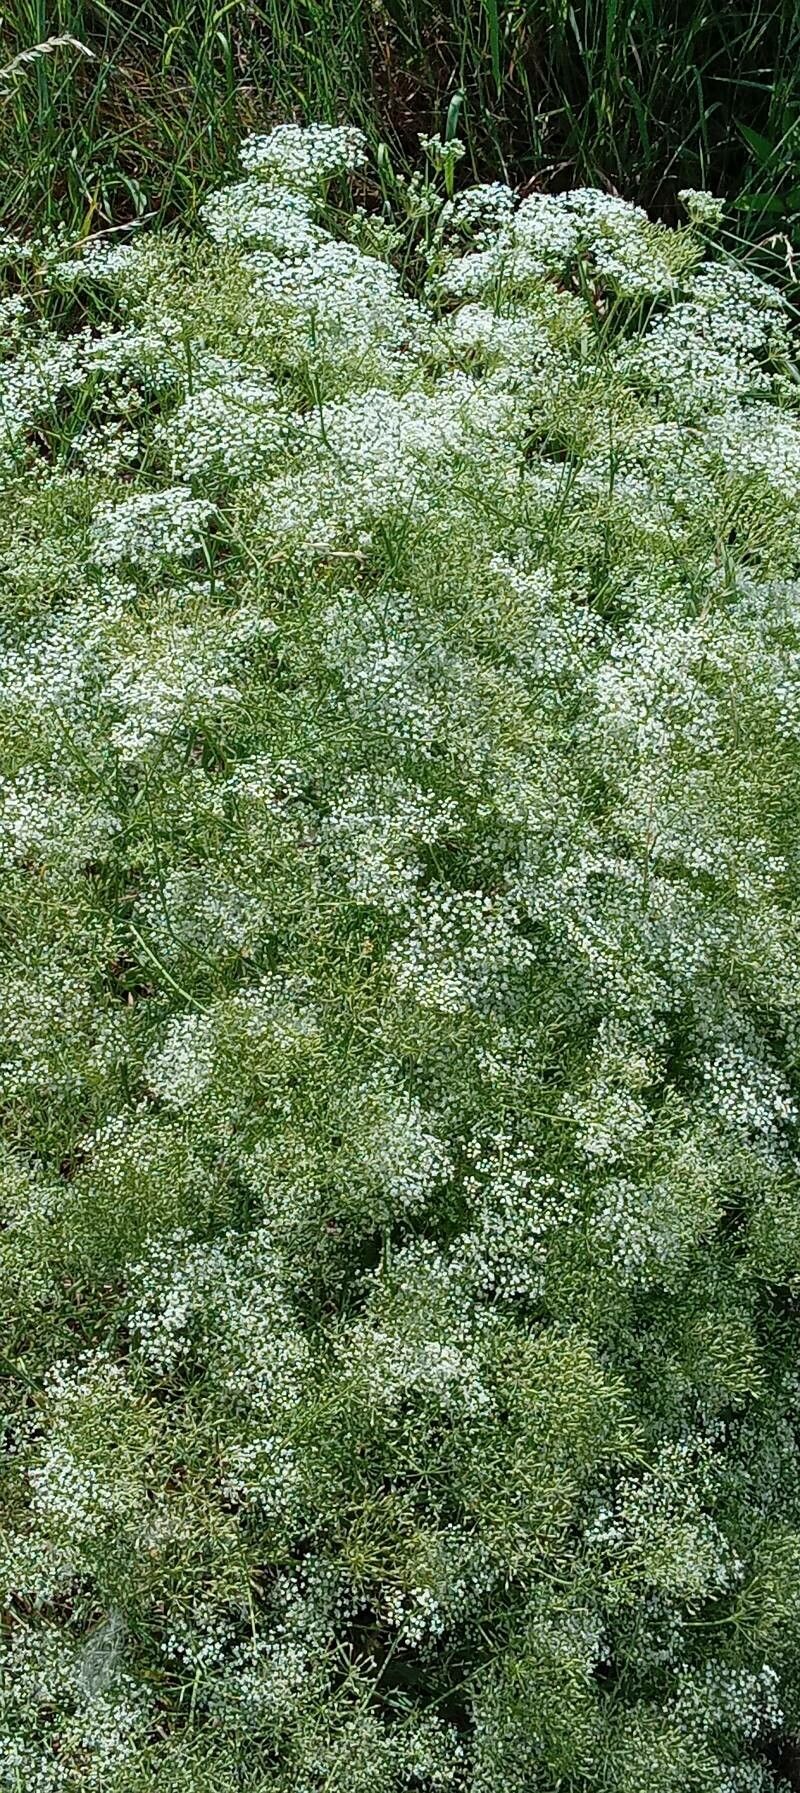
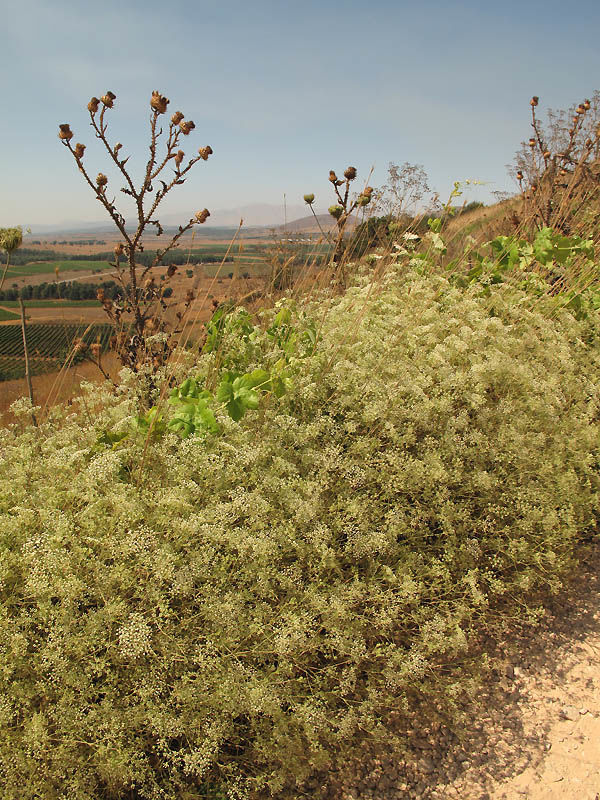
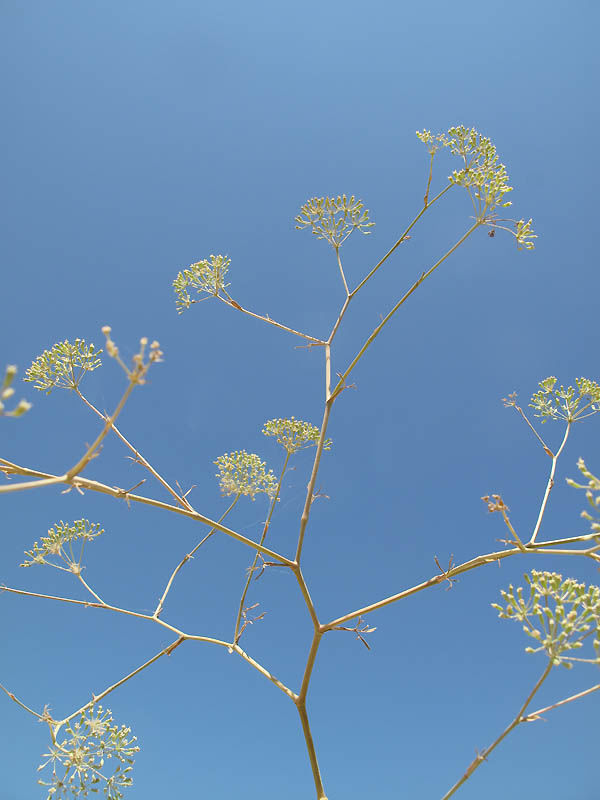
Scaffold Fern
falcaria vulgaris
Also known as: ["Scaffold Fern"]
Overview
A deciduous, ornamental plant with distinctive, fern-like foliage that forms an open, airy structure.
Benefits & Perks
["aesthetic foliage","wildlife attractant (bees, butterflies, birds)"]
Botanical Classification
| Phylum: | Magnoliophyta |
| Class: | Magnoliopsida |
| Order: | Asterales |
| Family: | Asteraceae |
| Genus: | Falcaria |
| Botanical Name: | Falcaria vulgaris |
Plant Characteristics
Basic Information
- Category: Leaf Plants
- Suitable Location: garden bed in a sunny area, or container with good drainage
- Suitable For:
- Is Weed: No
- Allergenicity: low
Environmental Needs
- Climate: {"temperatureRange":"5–30°C"}
- Hardiness: {"zones":"4–9"}
- Misting: rarely required, only if ambient humidity is very low
- Drainage: Fast-draining to prevent waterlogging.
- Soil Type: Well-draining, loamy soil with added organic matter. A cactus or succulent mix amended with compost works well.
Maintenance Level
- Maintenance Level: moderate
- Toughness Level: moderate
- Pruning Frequency: Light pruning can be done as needed throughout the growing season. Major pruning is best done in early spring.
- Pruning Intensity: Light to moderate. Avoid heavy pruning unless necessary to control size or shape.
Care Details
Ideal Sunlight Coverage:
Full sun (6–8 hours of direct sunlight daily). Tolerates partial shade but may become leggy with insufficient light.
Sunlight Tolerance Tips:
Acclimate plants gradually to intense sunlight to prevent scorching. In hot climates, provide some afternoon shade to protect from excessive heat. Indoors, place near a south-facing window.
Care Requirements
Care Difficulty
easymoderate
Sunlight
full sun to partial shade
Rotate plant weekly for even growth; use sheer curtains to filter intense midday sun; avoid placing in dark corners.
Watering
every 7–10 days during active growth, reduce in winter
Allow soil to dry out between waterings; avoid overwatering to prevent root rot; water thoroughly until excess drains from the bottom.
Soil
well-drained, sandy loam with some organic matter
pH: Slightly acidic to neutral (pH 6.0–7.0).
Use a pot with drainage holes; avoid compacted soil; top-dress with compost annually.
Temperature
Prefers cool to moderate temperatures (60–75°F or 15–24°C). Tolerates cooler conditions but may struggle above 80°F (27°C).
Avoid placing near drafty windows or heating vents; maintain consistent temperatures; protect from sudden temperature swings.
Fertilizing
every 4–6 weeks during growing season, none in winter
Always water before fertilizing to prevent root burn; flush soil occasionally to prevent salt buildup; use a slow-release fertilizer for convenience.
Propagation
Methods
Stem cuttings or division. Stem cuttings are the most common method for home growers.
Step-by-Step Propagation Guide
- Take a 4–6 inch cutting below a leaf node.
- Remove lower leaves.
- Dip in rooting hormone (optional).
- Plant in moist propagation medium.
- Keep warm and humid.
Best Time: Spring or early summer when the plant is actively growing.
Environment
Warm, humid environment with indirect light. Maintain temperatures around 70–75°F (21–24°C) and high humidity.
Medium
Well-draining potting mix such as a mix of peat, perlite, and sand.
Hormone
Rooting hormone is optional but recommended for faster root development.
Timeline
Roots typically develop in 3–6 weeks; new growth may appear in 2–3 months.
Tools Needed
Pruning shears, rooting hormone, small pots, well-draining soil mix, plastic bags or propagator for humidity.
Quick Tips
Use sharp, sterile tools to prevent infection; maintain consistent moisture; provide bottom heat for faster rooting.
Pruning & Repotting
Pruning Guide
Method
Pinch back tips to encourage branching; trim leggy stems to promote compact growth; remove yellow or dead leaves as they appear.
Pruning Plan
Prune to maintain shape, encourage bushier growth, and remove dead or damaged foliage. Pruning also helps improve air circulation.
Tools
Pruning shears, sharp scissors, gloves.
Checklist
Use clean tools; prune during active growth; remove dead or diseased parts; avoid over-pruning.
Repotting Guide
Best Season
Early spring before the growing season begins.
Pot Size
Choose a pot one size larger than the current one, with a diameter 1–2 inches wider.
Method
Remove the plant gently; trim any circling roots; place in a new pot with fresh, well-draining soil; water thoroughly after repotting.
Suggestions
Repot every 2–3 years or when the plant becomes root-bound. Repotting refreshes the soil and provides space for growth.
Checklist
Select appropriate pot size; prepare fresh soil mix; handle roots carefully; water after repotting; place in appropriate light.
Advanced Care Tips
Watering Mastery
Watering Checklist
Check soil moisture before watering; water deeply; ensure proper drainage; adjust frequency seasonally.
How to Apply Water Properly
Water directly at the root zone, ensuring even moisture distribution. Water early in the morning to minimize evaporation and allow foliage to dry. Ensure water drains freely to prevent waterlogging.
Watering Schedule Tips
Water deeply once every 1–2 weeks during active growth, reducing frequency to once a month in winter. Adjust based on rainfall and soil dryness.
Soil Improvement
Add perlite or coarse sand to improve drainage; incorporate compost for fertility; ensure soil is loose and aerated.
Temperature Stress Management
Signs of Temperature Issues
Wilting, yellowing leaves, stunted growth, or browning leaf edges in excessive heat; leaf drop or cessation of growth in cold stress.
Cold Stress
Low temperatures slow growth and can cause leaf discoloration or dieback. Prolonged cold may lead to root damage.
Solution: Move potted plants indoors or to a sheltered location during frost; use frost cloth for outdoor plants; ensure good air circulation to prevent mold.
Hot Stress
Excessive heat can cause leaf scorch, wilting, and reduced vigor. Plants may drop leaves to conserve water.
Solution: Provide shade during peak heat; increase humidity with misting or a pebble tray; water more frequently but avoid waterlogging.
Fertilizing Guide
Fertilizing Checklist
Use diluted fertilizer; fertilize during active growth; avoid winter feeding; flush soil periodically.
Fertilizing Method
Use a balanced liquid fertilizer diluted to half strength every 4–6 weeks during spring and summer. Avoid fertilizing in fall and winter.
Common Problems & Solutions
Toxicity Warning
Cats
Non-toxicFalcaria vulgaris is not known to be toxic to cats. It does not pose a significant risk if ingested by felines.
⚠️ Symptoms:
🌿 Toxic Parts:
⚡ Toxic If:
if eaten
Dogs
Non-toxicFalcaria vulgaris is not known to be toxic to dogs. It does not pose a significant risk if ingested by canines.
⚠️ Symptoms:
🌿 Toxic Parts:
⚡ Toxic If:
if eaten
Humans
Non-toxicFalcaria vulgaris is not known to have toxic effects on humans. It is generally considered safe for consumption and handling.
⚠️ Symptoms:
🌿 Toxic Parts:
⚡ Toxic If:
if eaten
Frequently Asked Questions
Q: Is Falcaria vulgaris toxic to pets?
A: No, it is non-toxic to dogs and cats.
Q: What are the common problems with Falcaria vulgaris?
A: Common issues include yellow leaves and wilting.
Q: Is Falcaria vulgaris suitable for beginners?
A: Yes, it is an easy-to-care-for plant suitable for beginners.
Quick Reference

| Family: | Asteraceae |
| Care: | easy |
| Light: | full sun to partial shade |
| Water: | every 7–10 days during activ |
Get Expert Care Tips
Download the Plantious app for personalized care reminders and plant identification!
Google Play App Store