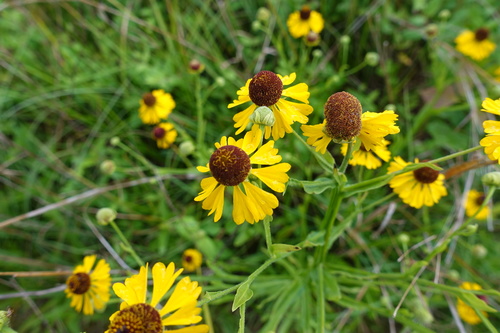
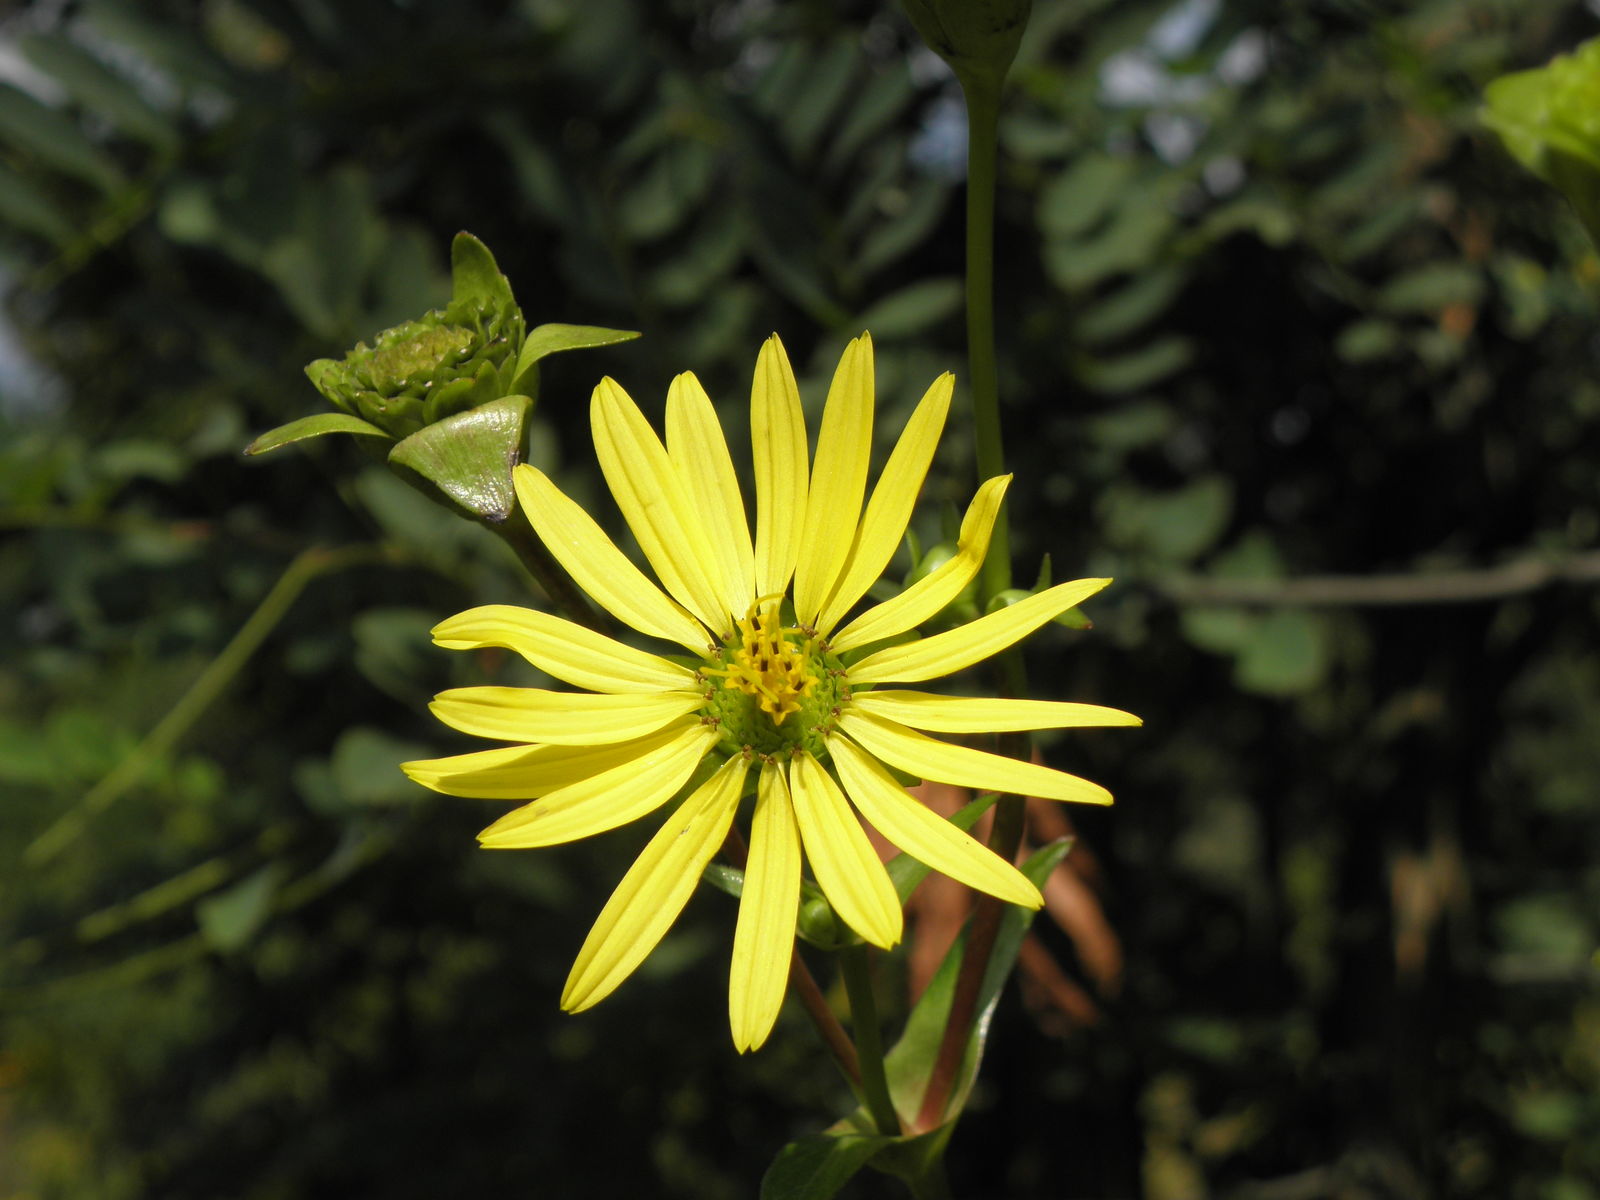
Cup Plant
silphium perfoliatum
Also known as: ["Indian Cup","Square Stem Silphium"]
Overview
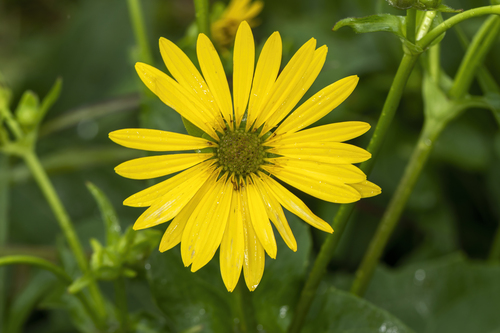
A tall, robust perennial native to North America, known for its distinctive cup-shaped leaves that hold water, and large yellow daisy-like flowers.
Benefits & Perks
["long-flowering","wildlife attractant (bees, butterflies, birds)","drought tolerant","aesthetic foliage"]
Botanical Classification
| Phylum: | Magnoliophyta |
| Class: | Magnoliopsida |
| Order: | Asterales |
| Family: | Asteraceae |
| Genus: | Silphium |
| Botanical Name: | Silphium perfoliatum |
Plant Characteristics
Basic Information
- Category: Flowers
- Suitable Location: garden bed or field with ample space for growth
- Suitable For:
- Is Weed: No
- Allergenicity: low
Environmental Needs
- Climate: {"temperatureRange":"–30 to 40°C"}
- Hardiness: {"zones":"3–9"}
- Misting: rarely required
- Drainage: Well-draining but moisture-retentive.
- Soil Type: Rich, loamy soil with good organic matter content.
Maintenance Level
- Maintenance Level: moderate
- Toughness Level: high
- Pruning Frequency: Annually in late winter or early spring before new growth begins.
- Pruning Intensity: Light to moderate; remove no more than one-third of the plant at a time.
Care Details
Ideal Sunlight Coverage:
Full sun (6–8 hours of direct sunlight daily). Tolerates partial shade but may produce fewer flowers.
Sunlight Tolerance Tips:
Acclimate plants gradually if moving from shade to sun; protect from intense midday heat in hot climates; ensure good air circulation to prevent fungal issues.
Care Requirements
Care Difficulty
moderatemoderate
Sunlight
full sun
Rotate plants for even growth; use shade cloth in extreme heat; avoid placing near reflective surfaces that intensify light.
Watering
every 7–10 days, more frequently during drought
Water thoroughly but infrequently to encourage deep root growth; ensure soil dries slightly between waterings; prioritize morning watering to reduce evaporation.
Soil
rich, moist, well-drained loam
pH: Slightly acidic to neutral (pH 6.0–7.0).
Avoid heavy clay soils; ensure consistent moisture without waterlogging; amend annually with organic matter.
Temperature
Prefers 65–85°F (18–29°C). Hardy to USDA zones 3–9, tolerating winter lows to -30°F (-34°C) with proper mulching.
Mulch to insulate roots; water early to avoid heat stress; adjust care based on seasonal extremes.
Fertilizing
annually in early spring with balanced slow-release fertilizer
Avoid over-fertilizing, which can harm roots; fertilize before heavy rain for better absorption; stop fertilizing in late autumn.
Propagation
Methods
Stem cuttings or division of rhizomes.
Step-by-Step Propagation Guide
- Take 4–6 inch cuttings.
- Remove lower leaves.
- Dip in hormone.
- Plant in medium.
- Maintain humidity.
- Transplant when rooted.
Best Time: Early spring or late summer when the plant is actively growing.
Environment
Warm (70–75°F), high humidity (70–80%), and partial shade until roots form.
Medium
Well-draining potting mix with perlite or sand; can also root in water initially.
Hormone
Rooting hormone is recommended for faster and more reliable rooting.
Timeline
Roots may develop in 3–4 weeks; establish in new pots within 2–3 months.
Tools Needed
Pruning shears, rooting hormone, small pots, misting spray bottle, plastic wrap.
Quick Tips
Use sharp, sterile tools; keep soil consistently moist but not waterlogged; provide bottom heat if possible.
Pruning & Repotting
Pruning Guide
Method
Cut stems back to a healthy bud or lateral branch; thin out crowded areas to improve light penetration.
Pruning Plan
Remove dead or damaged stems annually to improve air circulation and appearance; shape as needed.
Tools
Pruning shears, loppers (for thicker stems), gloves.
Checklist
Sterilize tools; prune before active growth; remove dead/diseased parts; shape evenly.
Repotting Guide
Best Season
Early spring before new growth starts.
Pot Size
Increase pot size by 2–3 inches in diameter.
Method
Gently remove the plant; trim any circling roots; place in a slightly larger pot with fresh soil; water thoroughly.
Suggestions
Repot every 2–3 years or when roots fill the container to prevent overcrowding.
Checklist
Choose appropriate pot size; use fresh soil mix; trim roots if needed; water after repotting.
Advanced Care Tips
Watering Mastery
Watering Checklist
Check soil moisture before watering; water deeply at the base; ensure proper drainage; adjust frequency seasonally.
How to Apply Water Properly
Water directly at the root zone, ensuring even saturation to a depth of 6–8 inches. Allow excess water to drain freely, avoiding waterlogged conditions. Water early in the morning to minimize evaporation.
Watering Schedule Tips
Water deeply once a week during the growing season, reducing frequency in winter. Adjust based on rainfall and soil moisture retention.
Soil Improvement
Add compost or well-rotted manure to enhance fertility and structure; incorporate perlite or sand for drainage.
Temperature Stress Management
Signs of Temperature Issues
Chlorosis or wilting in excessive heat; stunted growth or bud drop in cold stress; leaf scorch in intense sunlight.
Cold Stress
Slows growth and may cause leaf discoloration or dieback in prolonged freezing without protection.
Solution: Apply a thick layer of mulch around the base; cover plants during hard freezes; avoid overwatering in cold soil.
Hot Stress
Leaves may wilt, curl, or develop brown edges; flowering may be reduced in extreme heat.
Solution: Provide afternoon shade if possible; increase watering frequency; use reflective mulch to keep roots cool.
Fertilizing Guide
Fertilizing Checklist
Use balanced fertilizer; apply in early spring; dilute liquid feeds; avoid winter feeding.
Fertilizing Method
Use a balanced, slow-release fertilizer in early spring. Apply a diluted liquid fertilizer monthly during active growth, avoiding winter.
Common Problems & Solutions
Toxicity Warning
Cats
Non-toxicSilphium perfoliatum is not considered toxic to cats. The plant does not pose a significant risk to felines when ingested.
⚠️ Symptoms:
🌿 Toxic Parts:
⚡ Toxic If:
if eaten
Dogs
Non-toxicSilphium perfoliatum is not considered toxic to dogs. The plant is not known to cause significant adverse effects when ingested by canines.
⚠️ Symptoms:
🌿 Toxic Parts:
⚡ Toxic If:
if eaten
Humans
Non-toxicSilphium perfoliatum is generally considered non-toxic to humans. However, ingestion of large quantities may cause mild gastrointestinal discomfort due to its high fiber content and potential irritant properties.
⚠️ Symptoms:
🌿 Toxic Parts:
⚡ Toxic If:
if eaten in large quantities
Frequently Asked Questions
Q: Why do the leaves of the Cup Plant form cups?
A: The paired leaves are fused at the stem, creating cups that collect rainwater, providing habitat for small creatures and aiding pollinators.
Q: How tall does the Cup Plant grow?
A: It can reach heights of 5–8 feet, making it a striking addition to gardens and landscapes.
Q: Is the Cup Plant suitable for wildlife gardens?
A: Yes, its large flowers attract bees, butterflies, and birds, making it an excellent choice for wildlife-supporting gardens.
Quick Reference


| Family: | Asteraceae |
| Care: | moderate |
| Light: | full sun |
| Water: | every 7–10 days, more freque |
Get Expert Care Tips
Download the Plantious app for personalized care reminders and plant identification!
Google Play App Store