Introduction
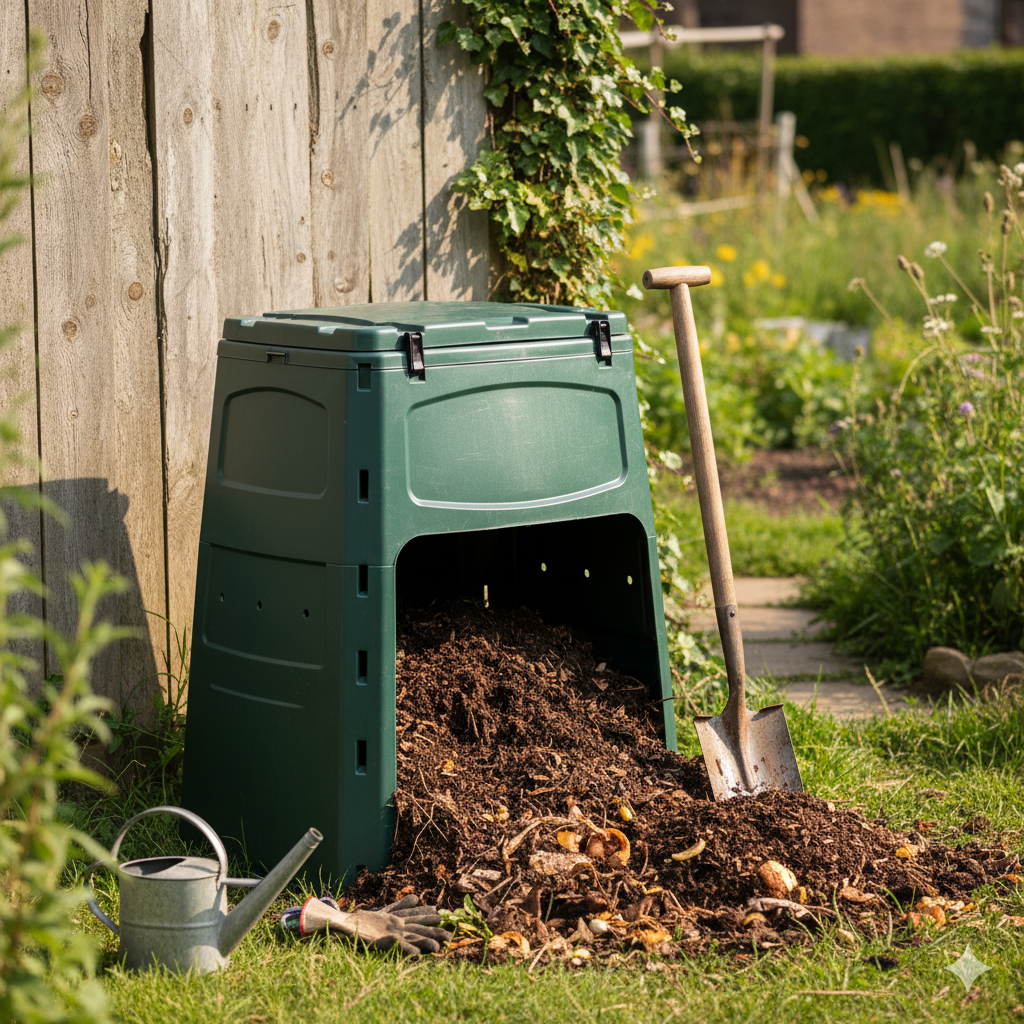
The enclosed stationary compost bin is a simple, low-maintenance solution for turning kitchen scraps and garden waste into rich compost. It suits small backyards, looks tidy, and—when managed correctly—keeps pests out while quietly doing its job in the background.
What It Is & Why It Works
An enclosed stationary bin is a fixed container with vents that allows air to flow while holding organic matter in place. Microbes break down a balanced mix of greens (nitrogen-rich scraps) and browns (carbon-rich dry matter) into a dark, crumbly amendment that improves soil structure, fertility, and water retention.
Who It’s Best For
- Best for: Small backyards, homeowners who want a low-maintenance system without frequent turning or fancy equipment.
- Not ideal for: People seeking ultra-fast results, or those who primarily compost in cold climates without turning (decomposition will be slower).
Pros & Cons
- Pros: Affordable, tidy look, helps keep pests out, easy to learn and use, larger capacity than many tumblers.
- Cons: Slower than tumblers; requires occasional turning with a garden fork or aerator to speed things up.
Essential Setup Tips
- Placement: Set the bin directly on soil (not concrete). This allows drainage and gives worms and beneficial microbes access from below.
- Base layer: Start with 10–15 cm of coarse browns (twigs, shredded cardboard) to improve airflow and prevent soggy bottoms.
- Layering: Alternate browns (dry leaves, shredded paper) with greens (fruit/veg scraps, coffee grounds). Always finish with a layer of browns to cover fresh food waste.
- Moisture: Maintain a “wrung-out sponge” dampness. Add water if too dry; add dry browns if too wet.
What to Add (and Avoid)
Greens (Nitrogen): Fruit & vegetable scraps, coffee grounds, tea leaves, fresh grass clippings.
Browns (Carbon): Dry leaves, shredded non-glossy paper/cardboard, straw, small wood shavings.
Avoid: Meat, fish, dairy, oils, pet waste (dog/cat), glossy/colored paper, diseased plants, and heavily treated wood. These cause odor, attract pests, or introduce contaminants.
Step-by-Step: Starting Your Bin
- Choose the spot: Partial shade helps prevent the pile from drying out too quickly.
- Build the base: Add coarse browns (twigs/cardboard) for airflow.
- Layer materials: 1 part greens to 2–3 parts browns by volume. Chop scraps to 2–5 cm to speed decomposition.
- Cap each addition: After dumping kitchen scraps, immediately cover with dry leaves to reduce odor and flies.
- Moisten as needed: If materials look dusty or don’t clump slightly in your hand, sprinkle water.
Maintenance & Turning
| Task | Frequency | Notes |
|---|---|---|
| Turn/aerate | Every 1–2 weeks | Use a garden fork or compost aerator; mix outer dry material toward the center. |
| Check moisture | Weekly | Too dry: add water and a bit of greens. Too wet: add dry leaves/cardboard and turn. |
| Add materials | As available | Keep the greens:browns balance. Always cover fresh scraps with browns. |
| Pest-proofing | Ongoing | Keep the lid closed; avoid meat/oils; use fine mesh at the base if rodents are common. |
Troubleshooting
- Bad odor (rotten or ammonia): Pile is too wet or too rich in greens. Add dry browns and turn for aeration.
- Dry and not breaking down: Add water evenly; incorporate more greens; cover the bin to retain moisture.
- Flies/gnats: Always cap new scraps with a generous layer of browns; keep the lid closed.
- Slow progress: Increase turning frequency, chop inputs smaller, and keep moisture at the wrung-sponge level.
How Long Until Compost Is Ready?
Expect 3–6 months in warm conditions with periodic turning. In cooler seasons or with minimal turning, it can take longer. Finished compost looks dark and crumbly, smells earthy, and no longer reveals distinct food pieces.
How to Use the Finished Compost
- Garden beds: Spread 1–3 cm as a top-dressing and gently mix into the topsoil.
- Containers: Blend 10–30% compost into potting mix for nutrient and water-holding boost.
- Mulch: Use as a nutrient-rich mulch layer to suppress weeds and conserve moisture.
Quick Summary
The enclosed stationary bin is affordable, tidy, and pest-resistant, perfect for small backyards. It works best when placed on soil, layered with browns and greens, kept evenly moist, and turned occasionally with a fork to maintain airflow.